
Most important aspects of the integration
Forget manual inputs of data
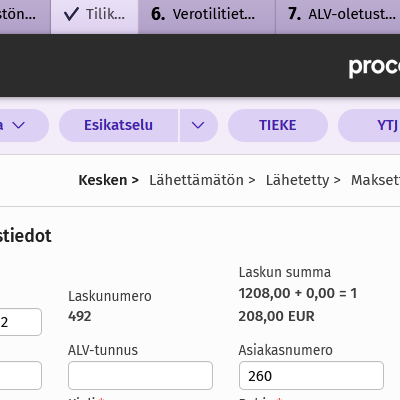
When the customer accepts the proposal and signs it, the information needed for invoicing is automatically transferred to financial management. A new customer (if there is no customer with the same business ID already) and a new product (if no similar product can be found) are saved in Netvisor, and an invoice is created with the status Unsent. Customer information and product lines are imported from Click2Contract.
Note that the same data may have also been automatically imported into Click2Contract from CRM.
A stronger cash flow with faster invoicing
Another clear added value of automatic invoice creation is faster invoicing since invoices are ready to be sent when the contract is accepted. In Netvisor, you only need to add the possible e-invoice information and send the invoice.
You can also automate a notification of a new invoice to Slack by using the CRM or Zapier integration.
Tips for getting started
The right elements in a template
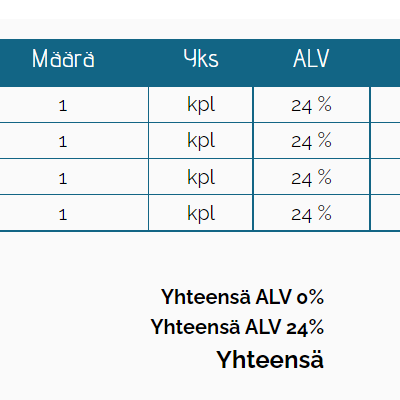
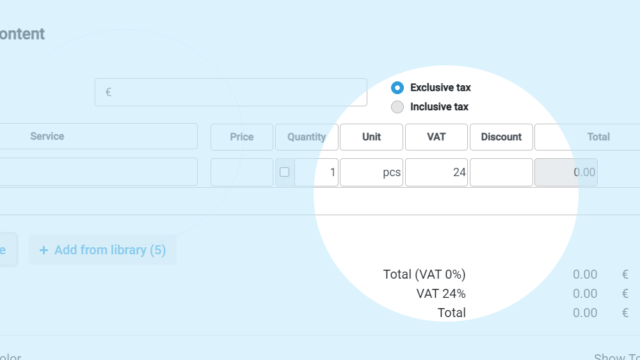
The integration only works with proposals that include the Pricing Table element. It is recommended to separate the customer’s address information into Address, Postal code and City fields in the proposal. Adding the business ID to the Business ID field is also recommended to avoid multiple entries of the same organization in Netvisor.
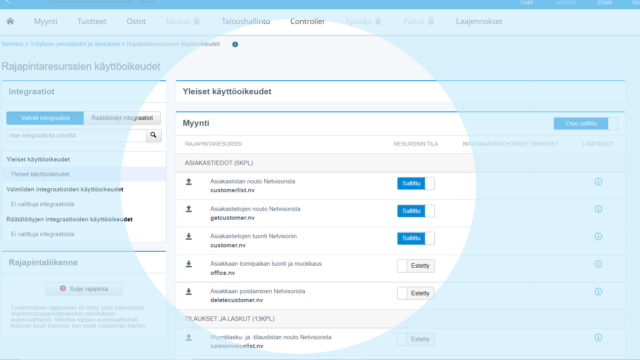
Open interface integration in Netvisor
Open the menu from the company name in the top left corner in Netvisor and select Rights of interface resources.
Enable the following rights:
– Retrieve customer list from Netvisor
– Retrieve customer details from Netvisor
– Import customer details to Netvisor
– Import sales invoice, credit invoice or order to Netvisor
– Retrieve product list from Netvisor
– Import product details to Netvisor
Note: The interface is not available in the Netvisor Basic and Core packages. The interface is included in the Premium and Professional packages. In the other Netvisor versions, the use of the interface is invoiced separately (starting from €27/month).
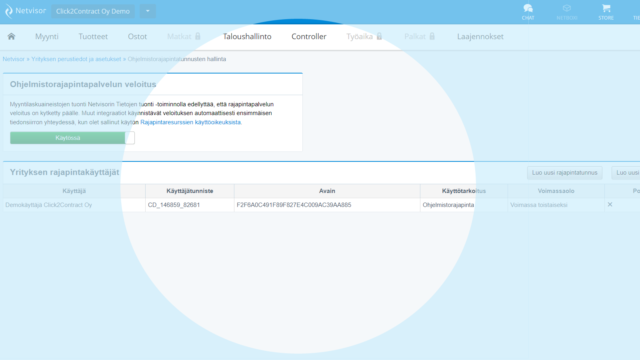
Find your identifier
Open the menu from the company name in the top left corner in Netvisor and select API and identifiers.
Copy your identifier and key to input them in Click2Contract.
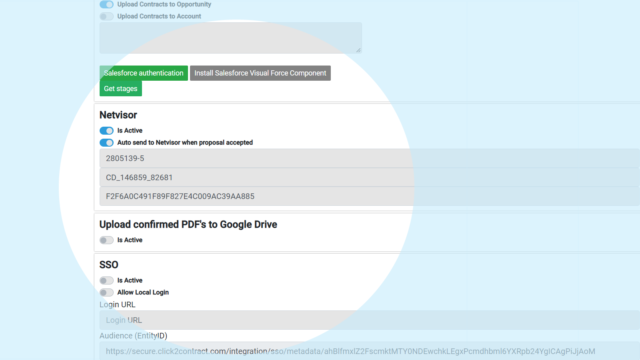
Save your credentials in Click2Contract
Select the Integrations tab in the top right corner in Click2Contract. Add your company’s business ID and the identifier and key you copied from Netvisor.
Choose whether you’d like the invoices to be created automatically and whether you’d like the integration to be active. Click Save to save your choices.
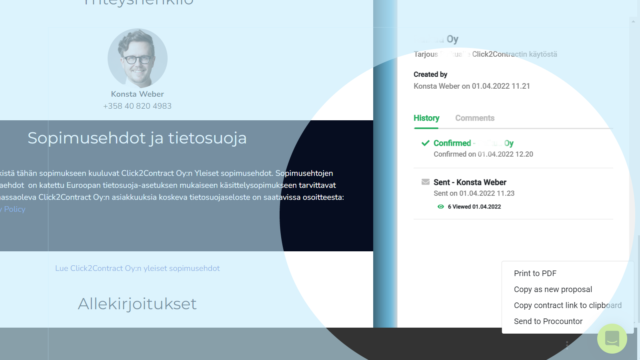
A sending function also in the contract view
Every accepted contract (in Contracts tab in Click2Contract) has a three-item menu in the bottom right corner. There you can find the function Send to Netvisor which allows you to send the contract information to Netvisor when automatic transfer is not on.